Zortrax – leading European manufacturer of 3D printers, at the very beginning of its career gained fame for the its excellent devices working in FFF technology – the M200 and M300 series. In the autumn of 2018, company surprised everyone by presenting brand new 3D printer working with photopolymer resins in UV LCD technology, called Inkspire. According to the manufacturer’s assurances and the opinions presented by the growing number of customers and users, the 3D printer is very fast and efficient, successfully competing with other devices of this type, available on the market. In this article you will see how exactly does Zortrax Inkspire look like and work on a daily basis?
The 3D printer uses photopolymer resins at work, and uses an LCD screen to cure them. Zortrax called this method UV LCD, except that it is a derivative of popular DLP technology where the light source is a light projector. During 3D prinitng process the 3D printer’s table is immersed into a container with resin, and the screen installed below it displays pictures of layers of the printed detail, hardening it in a selective way. The layers combine to form a three-dimensional object.
Although we are dealing with broadly understood 3D printing, users should be aware that from the point of view of both the specifics of production of details and the manufacturing method itself, we are dealing with a completely different technology than in the case of the popular FDM / FFF. In other words – users of the Zortrax M200, M300 and Inventure – or any other 3D printers printing from thermoplastics must be aware that with the transition to light-cured resins their “adventure with 3D printing” begins anew. Photopolymer technologies are associated with completely different challenges and problems, requiring a completely individual approach.
The only thing that connects Inkspire with other Zortrax 3D printers is its software – Z-SUITE. As we will see in a moment, people who work in this environment on a daily basis will not have major problems to find themselves in it (not counting on the technological nuances alone, which I wrote about above).
Before we go any further we start with the technical specification.
The 3D printer comes to us in a common brown carton.
It is packed solid, in a characteristic graphite foam known from other Zortrax 3D printers.
In the set we get 0.5 liters of resin (white) and a box with tools (we got the gray one for testing). Zortrax is traditionally very generous in this respect. The set includes pliers, spatulas, a knife, safety glasses, a set of keys and screws, and even an extremely useful funnel for pouring resin. We also get films to stick the bottom of the resin container. The only thing missing to complete happiness are disposable protective gloves.
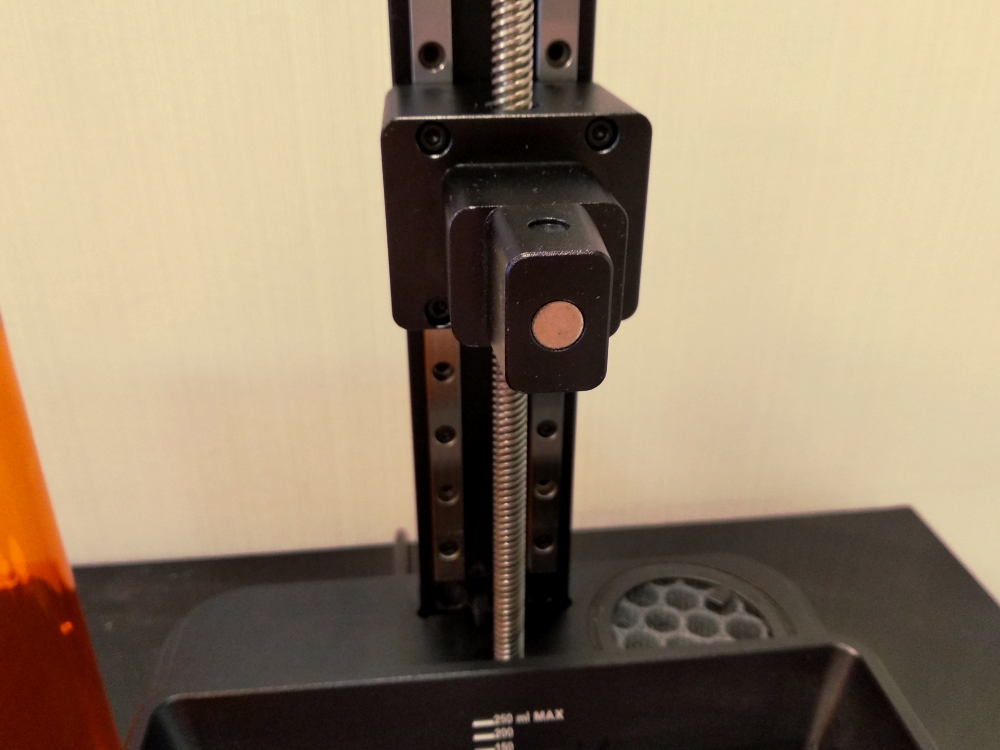
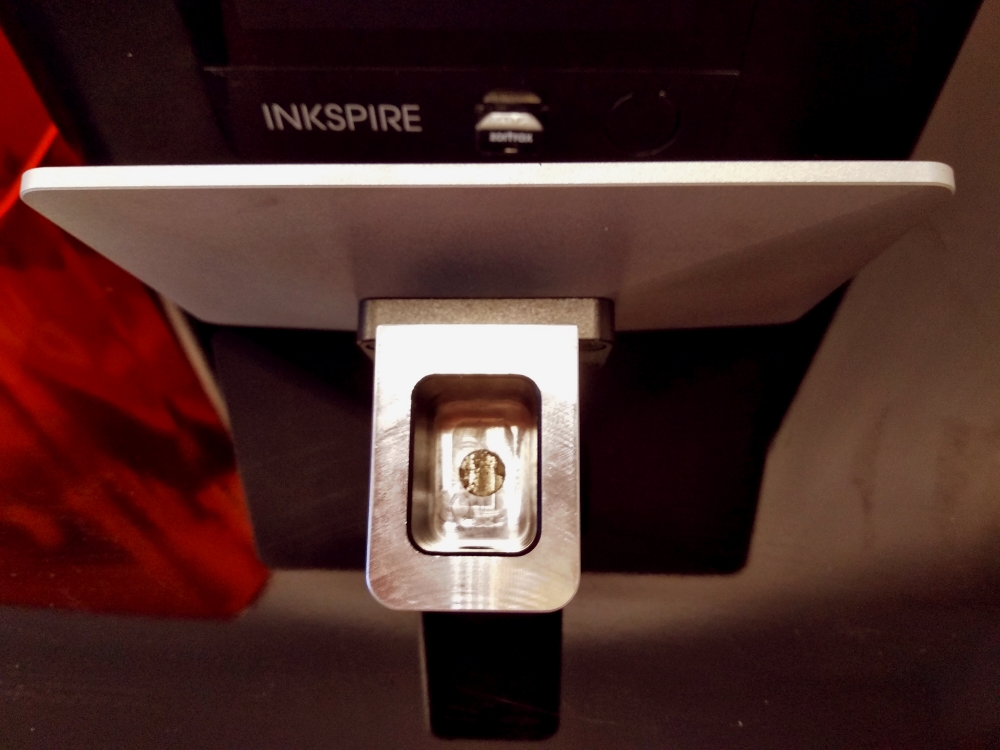
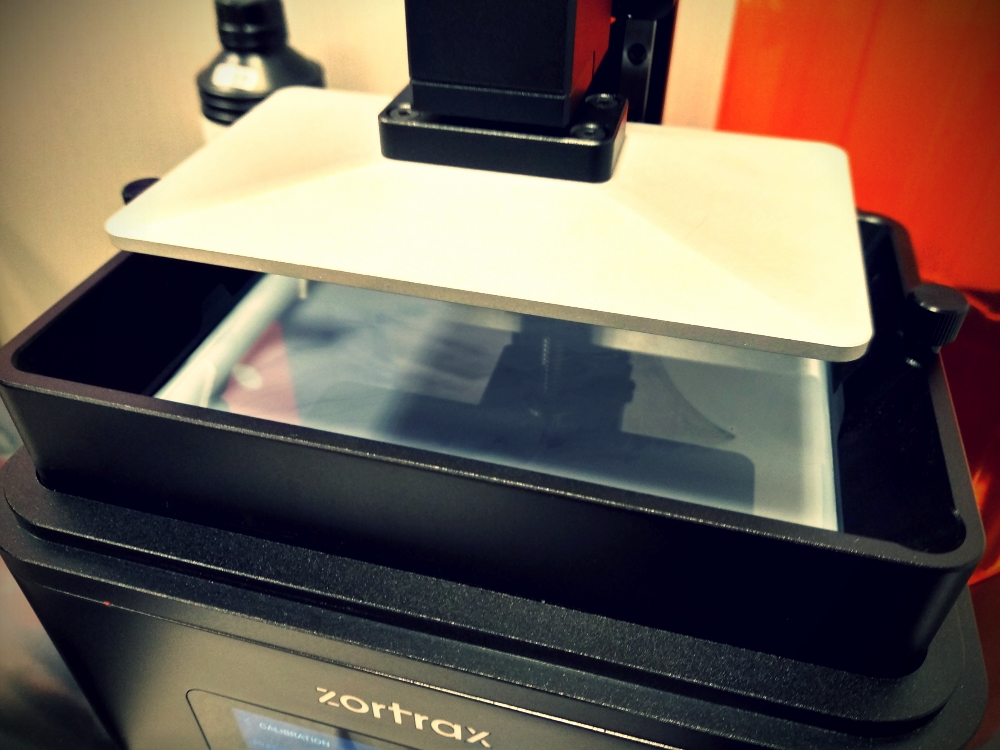
The build table is nicely shaped and mounted on a magnetic arm. In addition, we tighten it to the arm with a knob.
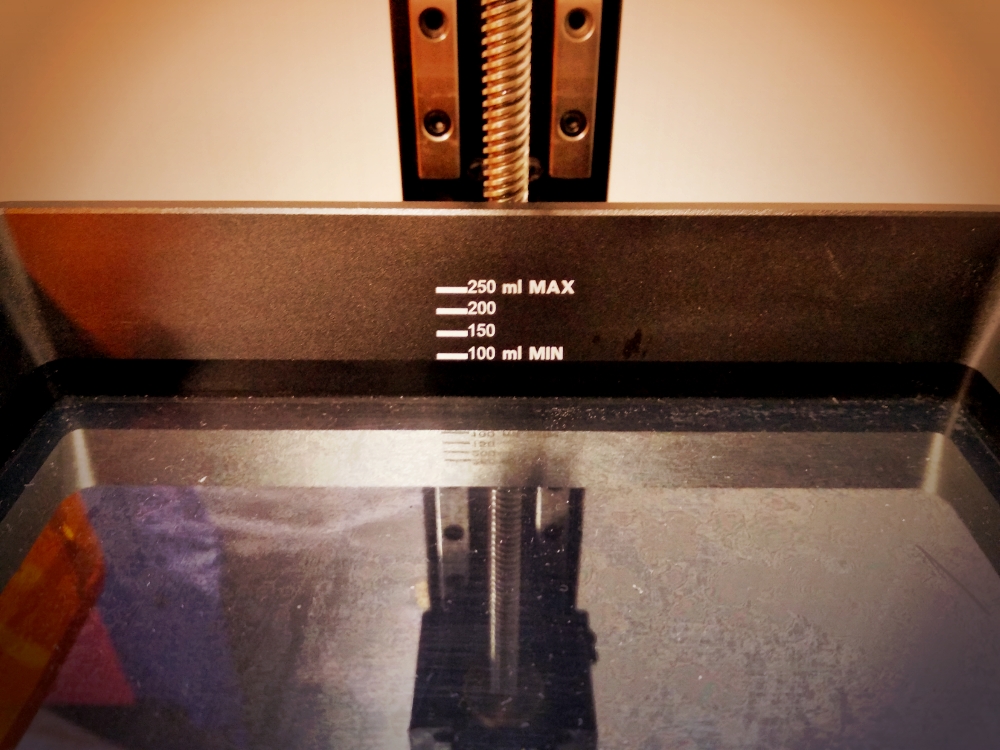
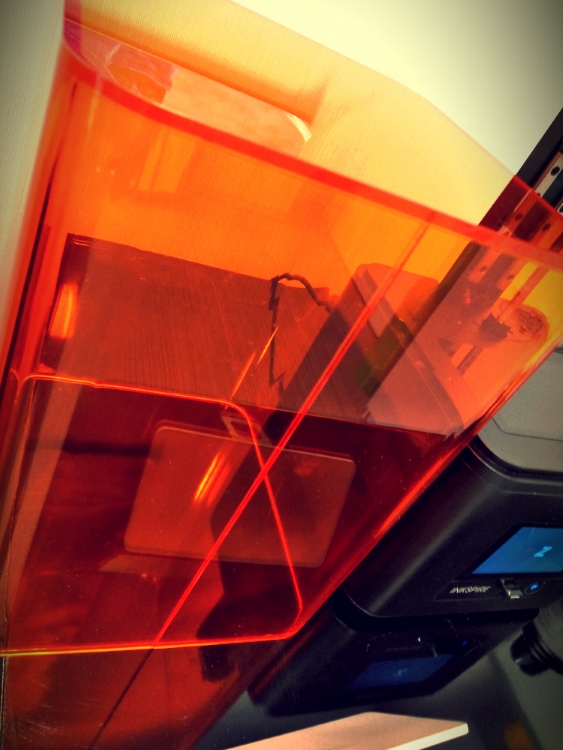
The resin container has printed levels for filling it with material. Simple and as it turns out – a very useful solution.
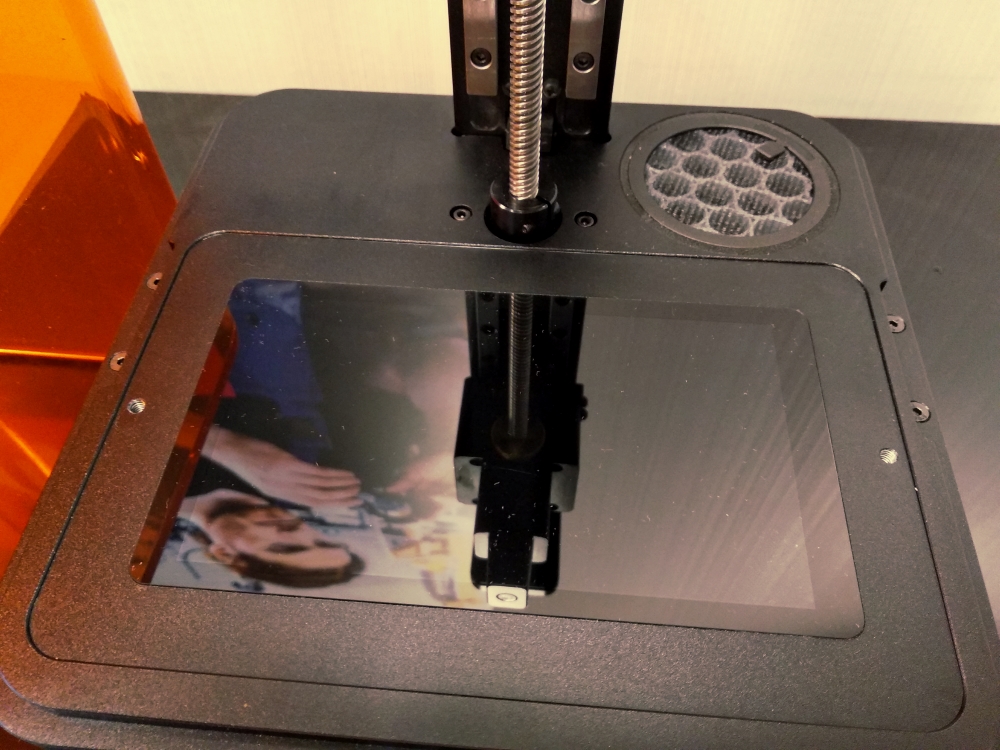
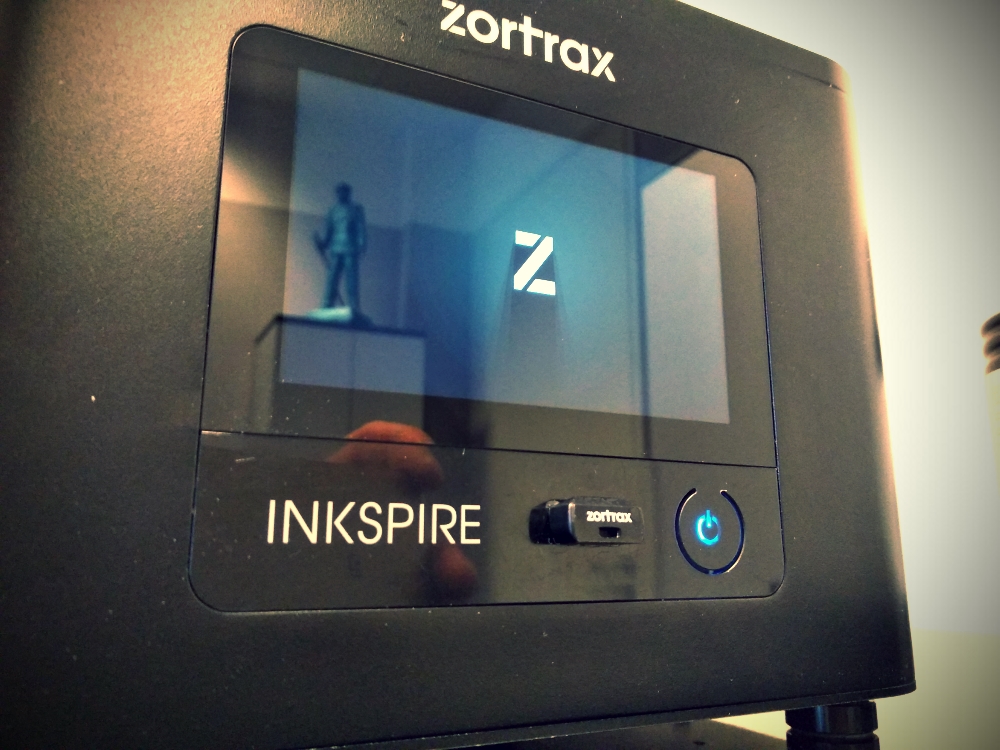
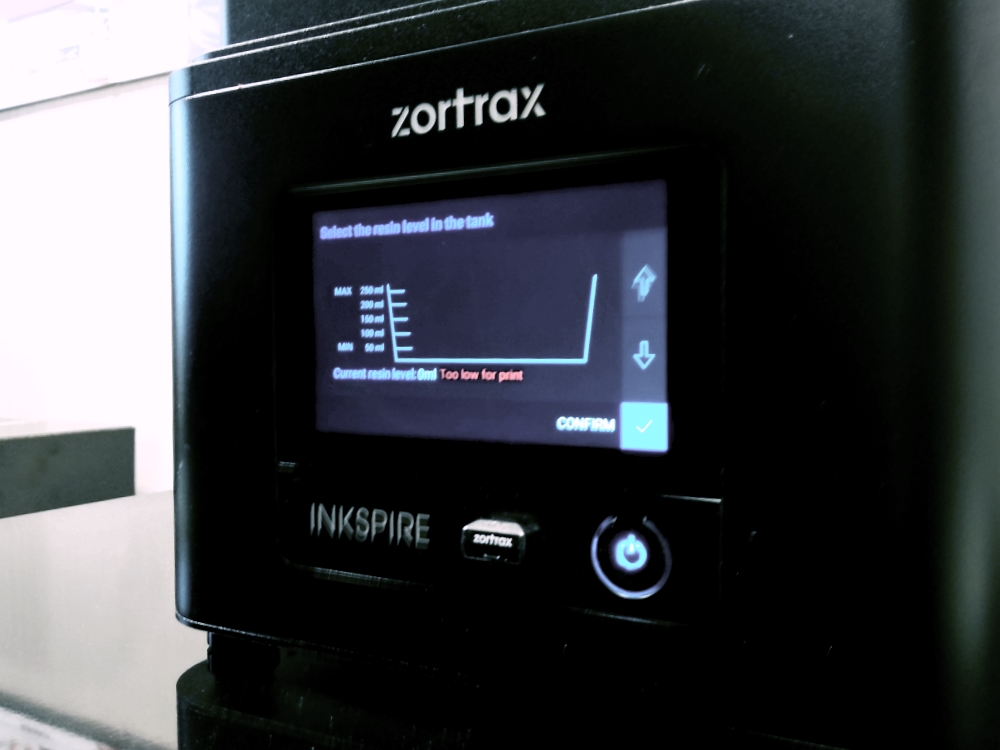
At the front we have an LCD screen to control a 3D printer and a pendrive for 3D models. On the back, a switch, a cable entry and another USB stick responsible for WiFi communication.
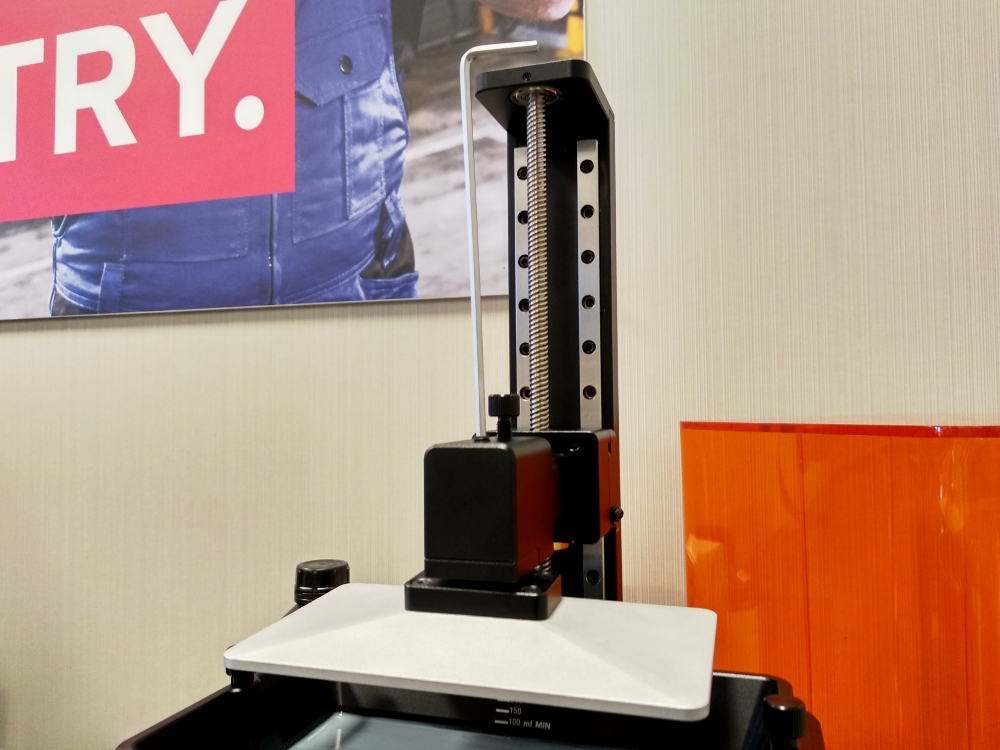
The whole is very shapely and stylish. The 3D printer is small – in the XY axes it would easily fit into the M200 chamber.
After turning on the 3D printer, it is worth updating the firmware.
Then we set the WiFi – it is extremely simple… From the list of available networks, we select ours and enter the password. Then in the Z-SUITE software in the “My devices” tab we search for it from the list of available and add it.
From here, we will also manage 3D printer memory.
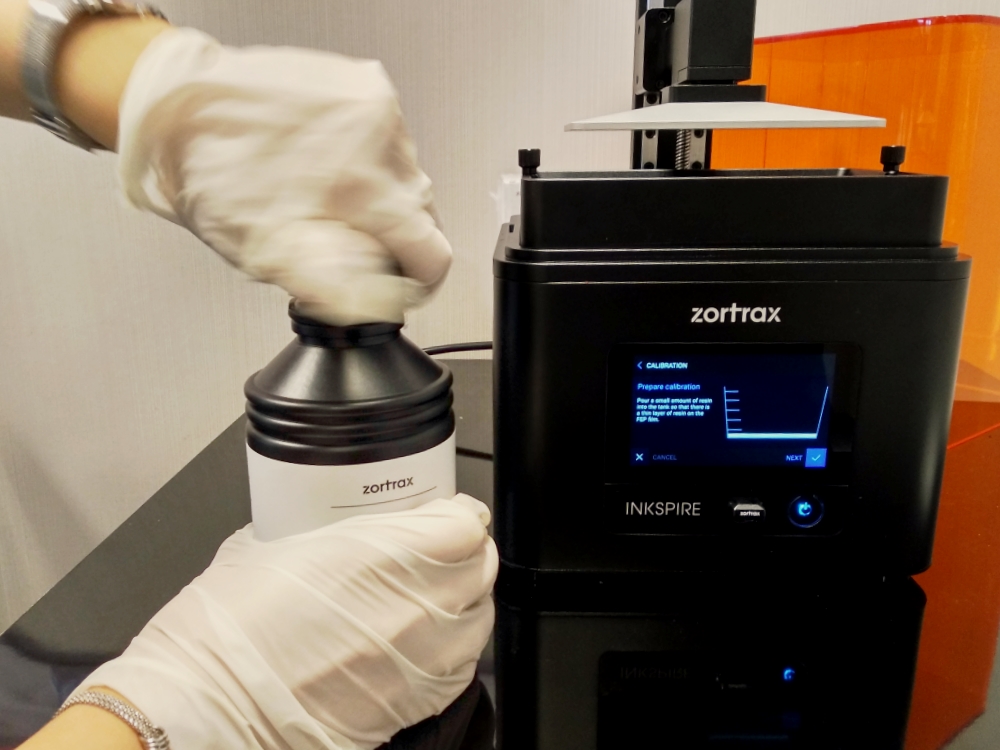
When we have the latest firmware uploaded, we start calibration. Use the appropriate function in the 3D printer menu. When we choose it, the 3D printer will ask you to pour a little resin into the container.
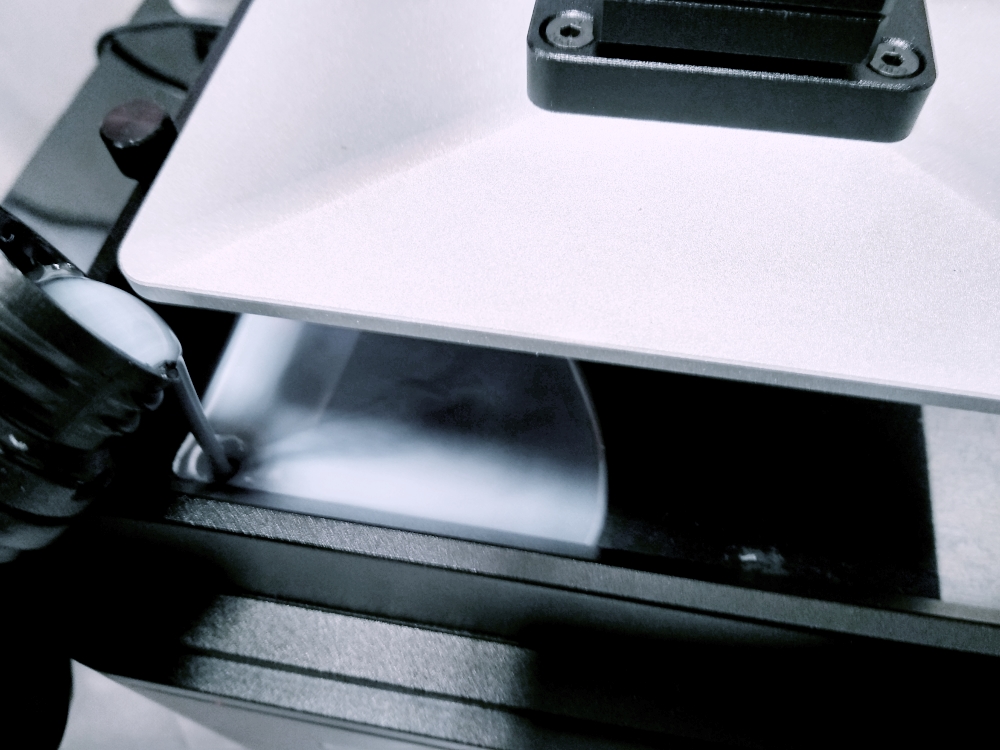
The next step is loosening the screw in the table with the Allen key. It will start to wobble sideways.
Then we lower the table to the bottom of the container (this happens automatically after choosing the option in the 3D printer menu) and, holding the upper part of the table gently, tighten the previously loosened screw.
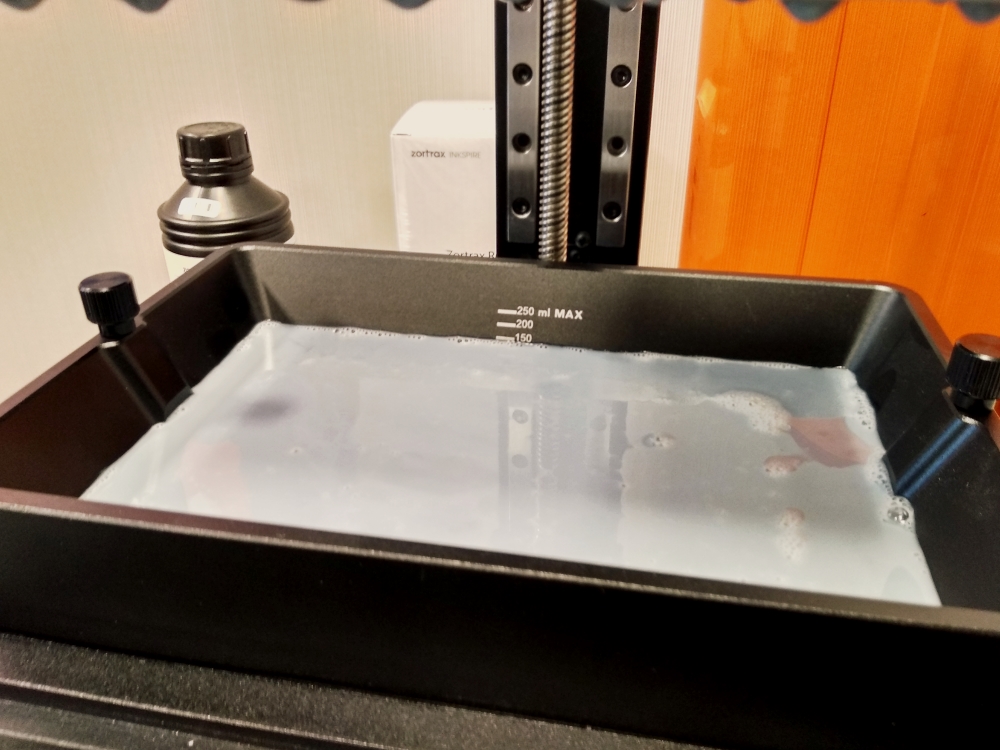
The next step is to fill the container with resin. In the menu, we choose the type of resin (we chose gray) and pour the container into one of the lines. When we do this, we set this level in the 3D printer menu. If I can advise you – it’s worth being honest… If we pour too much / too little than we set, we may have later problems with printing.
When all this is achieved, the 3D printer is ready to work.
We start with Z-SUITE software and pick Inkspire on the welcome screen.
The view is exactly the same as for the other Zortrax 3D printers. We choose the file and go through the next settings. At the beginning I started with a stylish skull ring. Based on the experience gained in working with other photopolymer 3D printers, I oriented the model in relation to the table at an angle of about 45°, however Z-SUITE has the function of automatically orientating the detail for photopolymer 3D printing.
In the next step, we generate supports, select the resin grade and the layer on which we will print from the menu.
In the end we see how our detail will come out and we get 3D printing times and the amount of material used.
When finished, we either send the file via WiFi or export it on a pendrive. The model visualization will also appear on the 3D printer’s screen.
The 3D printing process itself is completely different than in the case of the popular FDM / FFF technology. The table immersed in the resin rises and lowers after each exposed / printed layer.
When the detail is printed, we can remove the table from the arm.
The printout should then be detached (goes off very easily – of course using a spatula) and bathed (cleaned of resin residues). I did it in isopropyl alcohol, in the washer we have. A dedicated Zortrax washer will soon reach us, which we will also present and describe.
This is how our first 3D print from Inkspire looks like…
The second detail is the resin test model created a long time ago for Formlabs The Form 1. The procedure was identical as in the case of the ring (during work in Z-SUITE I slightly reduced its size in relation to individual print screens).
Source: www.centrumdruku3d.pl